

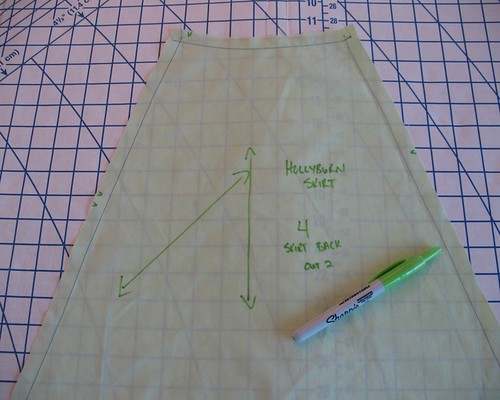
This is a bit backward, since I already showed you the finished product, but I thought you might be interested in my alterations to
the Hollyburn Skirt.

I chose View B, which was the perfect length – not too
short, not too long, just perfect for me and Goldilocks. The great thing about the
pattern is that if my idea of the perfect length changes, there are other
options included for my next skirt!
My first thought was to
use a striped fabric cut on the bias to create a chevron pattern – and I
think that this would be a great look for the skirt. However, I was unable to find a striped
fabric that was winter weight on short notice.
What I found was this upholstery fabric that has chenille threads
running through it, creating a squared dot on one side and broken lines on the
other.
I decided to go ahead and cut the pattern on the bias, not only to play
with the pattern, but also to help give this very heavy weight fabric a chance
to drape if it wanted to.
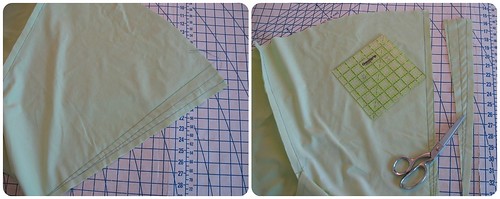
I ended up taking some fullness out of the front seam
because, even with the bias cut pieces, there was going to be too much
excess for an upholstery weight fabric.
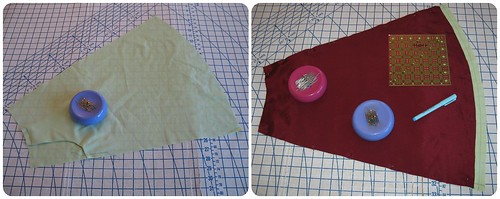
And I also added a lining.
My fabric is definitely winter weight, so tights are a must. To avoid any static cling, a layer of lining
was necessary.
Because of those adorable pockets, the front pieces will
need to be redrawn or your lining will have two significant chunks missing. Simply fold the pocket as directed and pin the folded tissue
to the upper side and top edge of the skirt front.
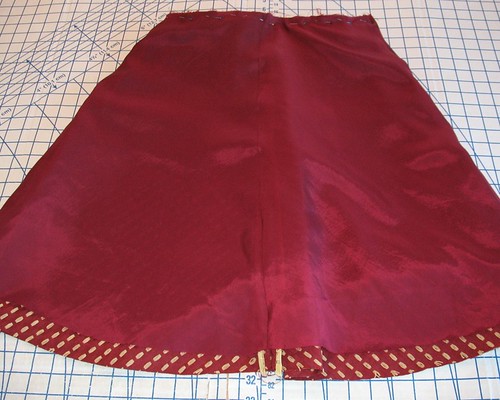
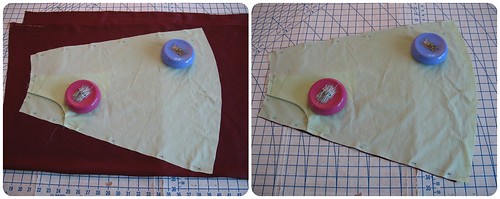
Now you have a clean diagonal line to cut. Stitch the front, side, and back seams, leaving the length of your zipper unstitched along the upper back seam.

Drop the lining inside of the skirt and baste along the
waistline. The opening gets
handstitched in place along the zipper.
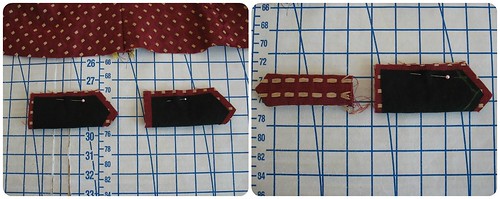
Those tabs were a bear to turn right-side out with my thick
fabric. But I was determined, mostly
because I wanted to add buttons.

Sewaholic fans now have another wardrobe option with so many different possibilities. I cannot wait to see what Tasia comes up with next!
Your skirt is fantastic! SO glad to see something made out of upholstery fabric, as I see so many beautiful ones and never dared to use them for dressmaking. You've opened an avalanche, I think!
ReplyDeleteThe upholstery fabric will not work for every project, but I have had wonderful luck working with them in the past. And I agree - some of the prints are fabulous!
DeleteGreat! ❤ Thank you for the tutorial. I would like to make my own skirt and now I am really motivated to do so for Christmas. ;-)
ReplyDelete